|
NO.
|
Description
|
|
01
|
Disassemble the molds. |
|
02
|
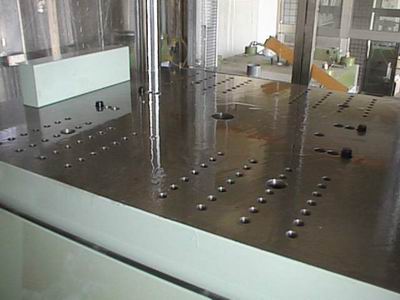
Turn on motor and clamp open to CLAMP OPEN DEAD L. |
|
03
|
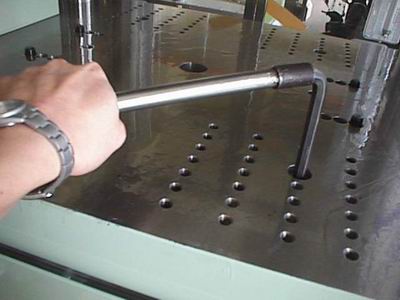
Disassemble the lock screw of the main cylinder and the middle plate
using 14mm inner type hexagonal |
|
04
|
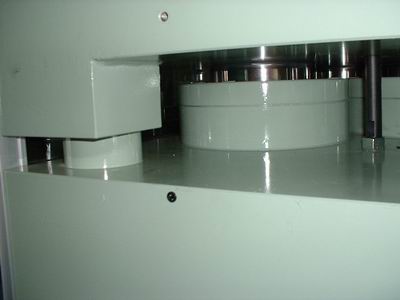
4. Use semiauto, clamp close toapproximately 40cm for easy |
|
05
|
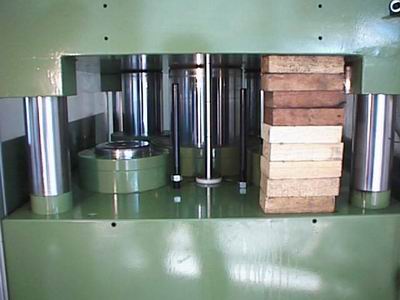
5. Put something which can sustain more than 2 tons at either side in between middle plate and lower plate to prevent from hurting the technician during the changingprocess. |
|
06
|
Disassemble the cylinder cover by using 14mm hexagonal screw driver. |
|
07
|
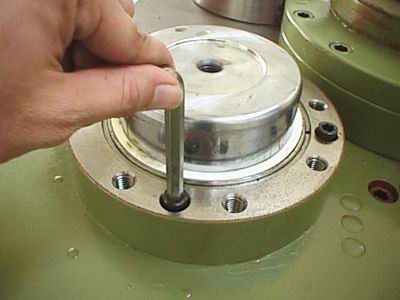
7. Use a small Philips screw driver to take off the plastic cover on
the main cylinder fixed screw. |
|
08
|
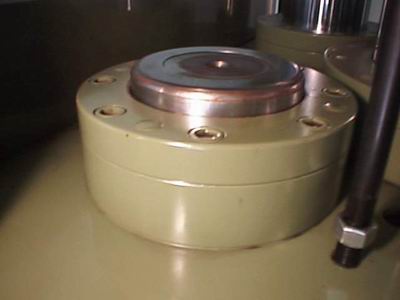
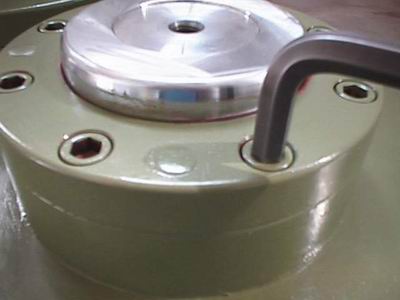
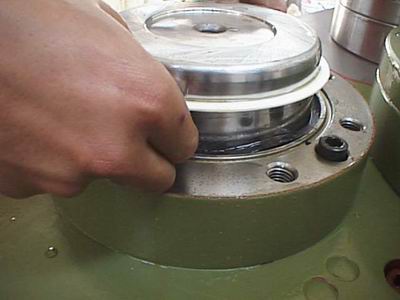
Loosen main cylinder lock screw symmetrically by 10mm hexagonal screw driver. This is to protrude the hydraulic cylinder tank cover. No need to disassemble the lock screw.Then take the cover off. |
|
09
|
Take off plastic cover. |
|
10
|
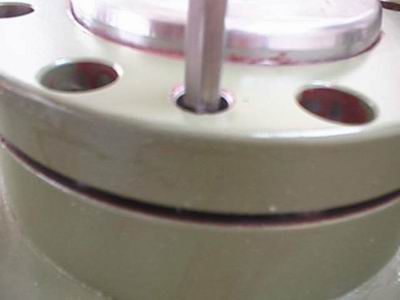
Clamp close by "MANUAL CYCLE". The piston of clamp close cylinder will be lifted, take off the old sealing immediately. |
|
11
|
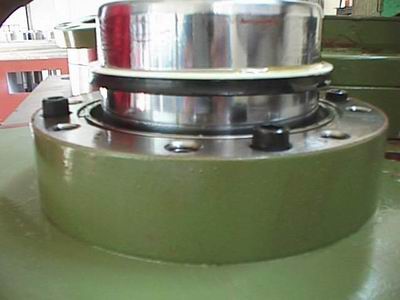
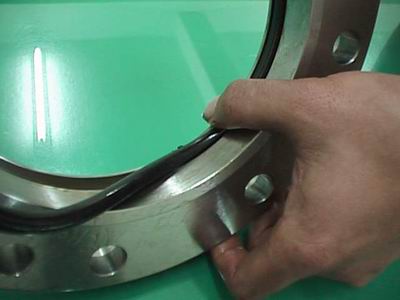
Apply lubricant on new sealing,face down U-Ring and insert it into sealing cavity by using a proper tool without damaging the U-Ring.Cover white Teflon.. |
|
12
|
Lock the cylinder fixed screws tightly. |
|
13
|
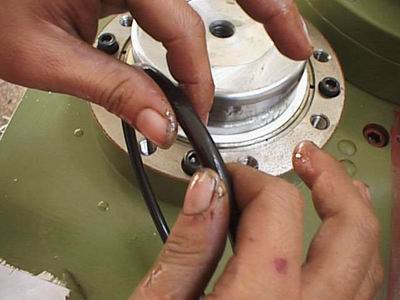
Take off the old O-ring instead of new O-ring. |
|
14
|
Put the hydraulic tank cover back and lock the screws. |
|
15
|
Clean the area around cylinder and take off the support in between
middle and lower plate. After checked nothing including human hands
inside the machine, then start motor, clamp open until middle plate
touched CLAMP OPEN DEAD L." |
|
16 |
Lock the lock screw of main cylinder and middle plate. Done! |